8 - Effects: In Practice
Note: Stems and songs provided in the following post are licensed under CC BY-NC-ND 4.0. For more information, see: https://creativecommons.org/licenses/by-nc-nd/4.0/
Note: Read the introduction entirely before complaining about the length :) .
Note (the last one): Having headphones or good speakers at hand is recommended, although not mandatory. My explanations won't make much sense without listening to the examples.
Update (01/13/2025): I added a bit more explanation about the compender effect, and bass mixing.
In the last chapter, I introduced a list of common effects commonly used in music production. Now is the time to see how we can put them in practice! I will use the song introduced in chapter 5 to illustrate how I personally processed each instrument.
As last time, I won't enter into the detail of each settings to keep things concise and accessible, but only explain the overall approach (well, "concise", but don't worry, it is mostly padded by images). And to be honest I cannot explain all of those settings either anyway 😅. Feel free to pick only the sections that spark your interest, I suggest though to compare the different audio examples. (The drums and piano are the most detailed ones.) At the very least, I suggest listening to differences, having a quick look at the pictures and reading the conclusion.
For reference, here is the full song without effects, and with all the effects (plus those on instruments not explained here).
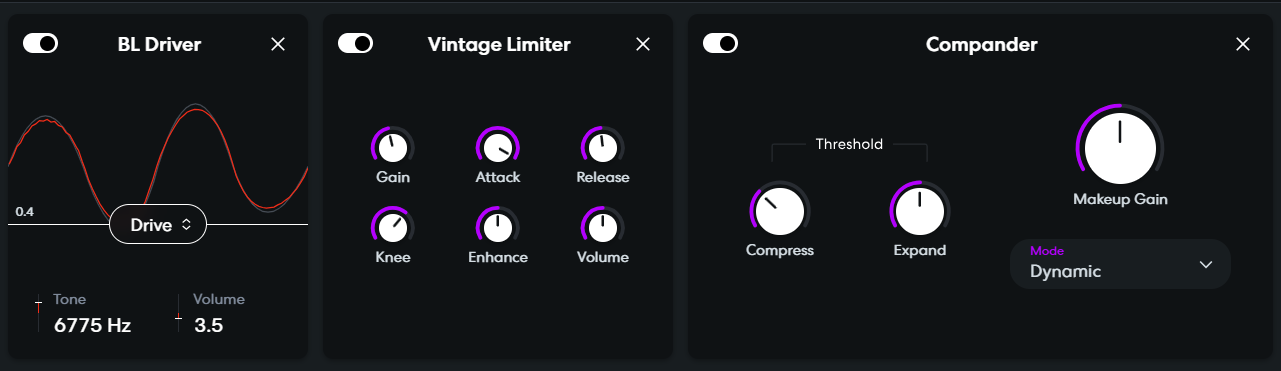
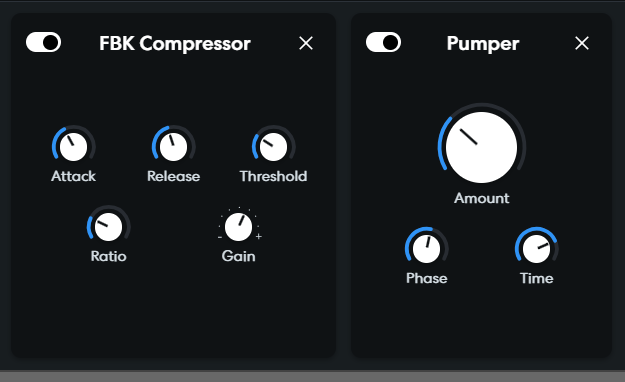
Drums
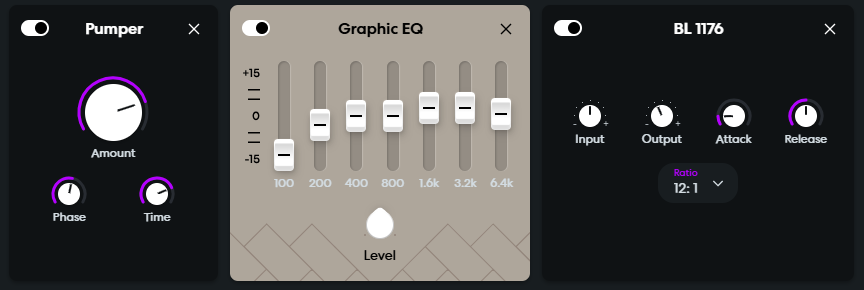
For this track, I started off the "lofi dirt" preset, which you can find in the effects tab at the bottom left, and then in the dropdown menu under the preset thumbnail. To get a lo-fi vibe, I wanted to intentionally make it sound a bit altered in quality and warmer.
To do so, the BL Driver effects slightly destroy the signal, and make the drums sound a bit "slobbery". Then, the limiter slightly reduce the dynamics amplitude ("volume contrast" if you want), also to get the feel of low quality. I am not sure what the preset compender achieve, but I believe that its goal is similar to the limiter while keeping a bit of dynamics (it seems to amplify under a given threshold). I then added an EQ to amplify the low-mediums and reduce the highs, so that it sounds warmer and comfy. Finally, the de-esser makes cymbals less shiny (I didn't talk about this effect).

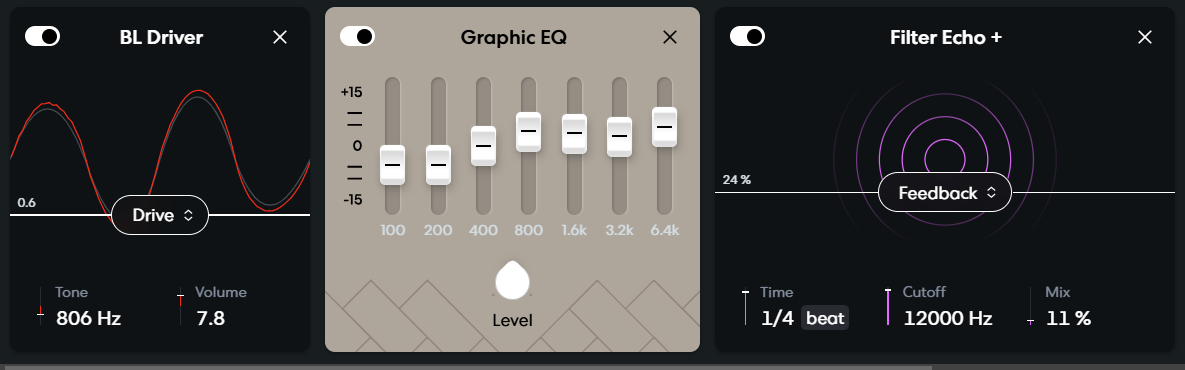
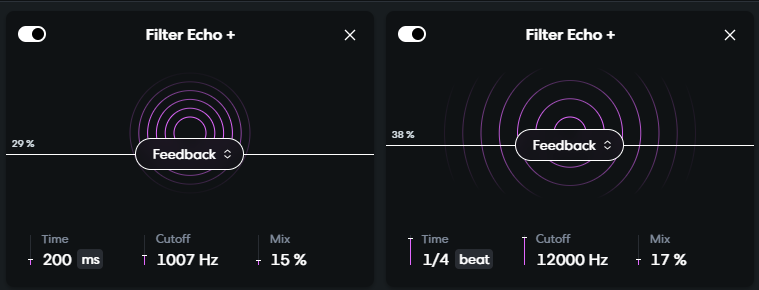
Reverse cymbal
Again, I used the BL Driver effect to make the cymbal sound a bit altered. Because it is high pitched, I reinforced the mediums this time, but kept some highs to make it stand out in the mix (there aren't much highs in all the tracks). To give it depth, I added a subtle delay and a semi-long reverb (the delay and reverb are a common combo by the way).
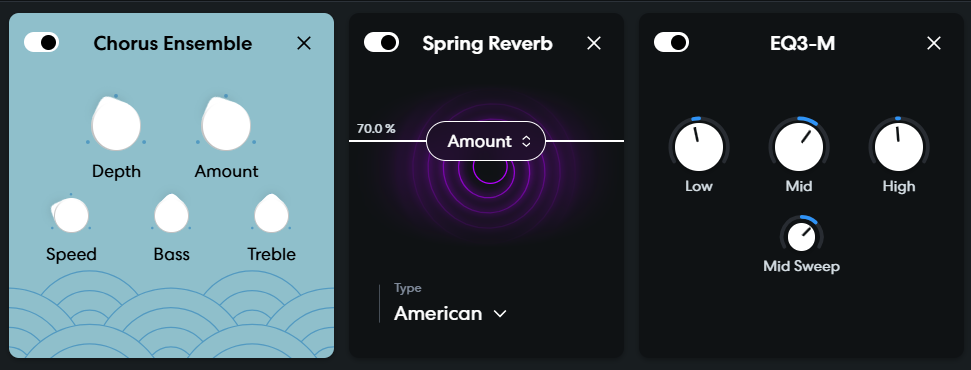
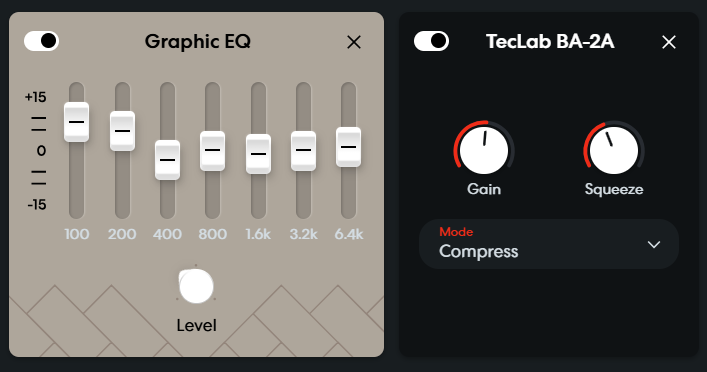
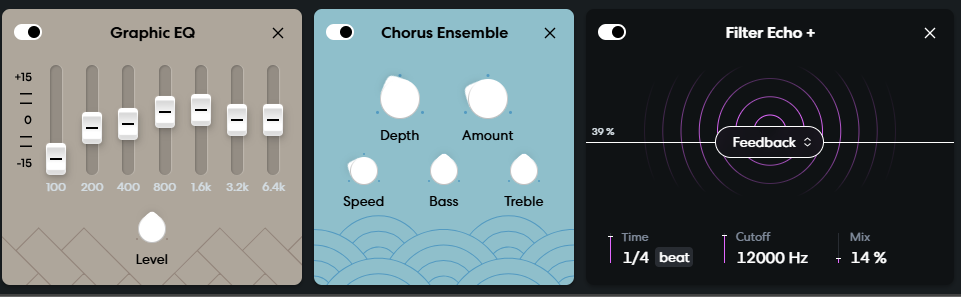
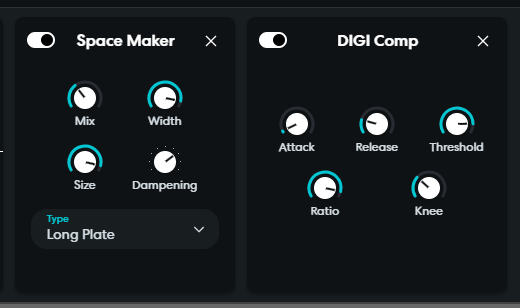
Piano
This pipeline is based on the "bright reverb" preset. The chorus slightly color and reinforce the stereo of the piano. A subtle reverb then gives it a bit more depth. The EQ reinforces the mediums which is the dominant area of a piano, so that it stands out more. But to not make it too bright, the highs are slightly reduced. Then comes a compressor to make it a bit more energetic and powerful. Finally, to give it more rhythmic and make it more interesting, I added a shy sidechain, which reinforces the kick (which we don't hear in the following examples).
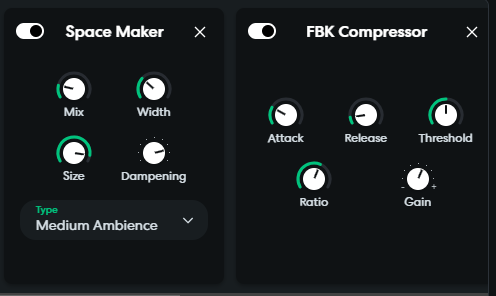
Bass
The bass instrument itself is mostly left untouched as it only serves as a low frequencies booster. Most of the dynamics comes from the superposed piano which plays the same notes at a very low pitch (adding medium and high frequencies for cheap devices). Hence, the lows are reinforced, and the compressor boosts the bass a bit.
Note: The following example will be hard to hear without headphones, or speakers with a good bass response.
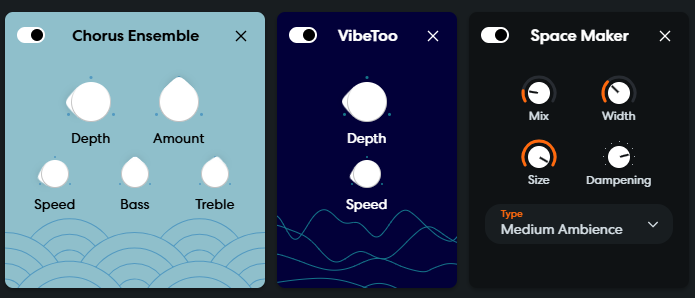
Agressive electric piano (chorus melody)
I used a similar approach as the piano for the electric piano used in the melody. So I won't go into the details, but you can have a look at the settings below and listen to the examples to compare. I just use different settings or modules (space maker is a reverb).
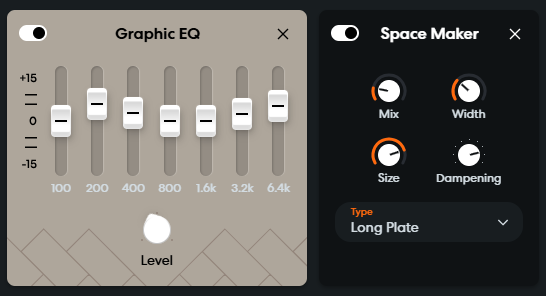
Soft electric piano (verse melody)
The explanation is the same as for the aggressive electric piano. The only twist is that there are two chained echo effects, a fast, subtle one and a slower, more pronounced one. I could have put an EQ, but didn't feel the need. BandLab doesn't provide frequency spectrums in the free tier, so it is hard to spot silent but problematic frequencies.
Organ
The chorus is particularly powerful on mono like sounds (where the left and right channels sound almost the same, or exactly for true mono). The VibeToo is a custom effect from BandLab, which seems to be some kind of advanced pitch shifting effect. Here, it helps breaking the monotony, but pitch shifting can be used for many purposes, from weirdness to anxiety!
Rain
Here, the lows are increased to give warmth, and the highs to reinforce the rain effect. The reverb is here to improve the stereo and immersion of the rain.
Chorus pad
I know, I know, it is the last one I showcase here.
This one is a great example of how sidechain can really add to making something more rhythmic. Additionally, I make the pad shinier by increasing the highs, and lowering the lows. The compressor only makes it more powerful. There is also a tremolo hidden within the instrument preset (which I have no access to, unfortunately). This is what creates the feeling like you are speaking in front of a fan with your voice trembling. This one is subtle, but can be easily heard in the example with no effect.
Closing words
All of this is certainly overwhelming, especially if you are unfamiliar with signal processing. Mixing and effects are certainly not the most glamorous aspect of music composition (although you can have a lot of fun creating crazy stuff with it!). But if I make the parallel to drawing (again), remember you are your baby self right now, taking the pencil in your hand for the first time, and making your first drawing on a piece of paper.. Did you know about the importance of choosing the right colors? Probably not. Did you know about the difference between using a pen and a pencil? You probably didn't care. Did you know about shading and perspective? If you did, that's impressive, but I doubt it was the case. It took you time to learn all of this. And in the same way, it takes time to familiarize yourself with all of those effects and those settings (and music theory!). And it is OK. Add the parts that sparks your interest bit by bit, don't rush things, and everything will go smoothly.
In the next chapter, I will talk about how to add more depth to our mix. This one will be easier, and much shorter, as I will stick to some handy tips.
For now, I wish you a good day, afternoon, evening or night, and I see you in the next post!
~ Charly
PS: Nope, it isn't the longest post, not even the second longest! OK, possibly the third. But I said that you can read any part you want, so... ¯\_(ツ)_/¯